
Recording
Survey protocols
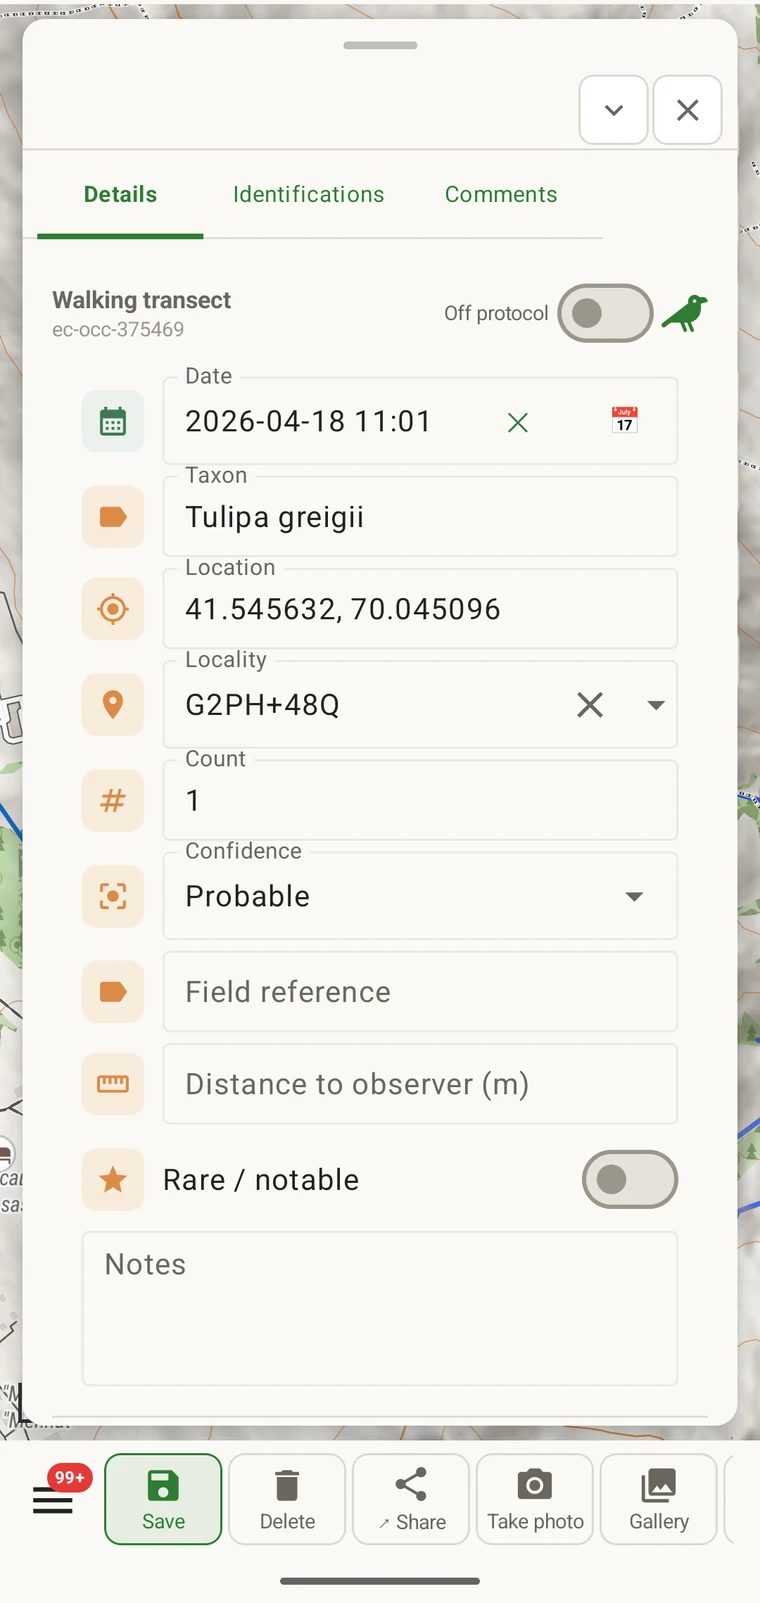
A protocol defines what a record must contain: which fields appear on the observation form, which of them are required, the units and value lists, and what counts as a complete observation. Every record in a project is made under one protocol, which also determines the form shown to the recorder.
What a protocol controls
The protocol defines the structure that recording produces. Changing the protocol changes the form with it, which is why Forms and custom fields and this page cover related ground. The form page covers the layout and field-level controls; this page covers the protocol that determines which fields exist in the first place.
| What the protocol defines | Effect on recording |
|---|---|
| Fields presented | The set of data fields that appear on the observation form. Fields not included in the protocol do not appear and cannot be filled. |
| Required fields | Which fields must be filled before the record can be saved. Validation runs at entry time, not at export. |
| Units and value lists | The units attached to numeric fields (metres, degrees, counts) and the fixed options shown in choice fields. These are fixed per protocol, so all records in a project use the same vocabulary. |
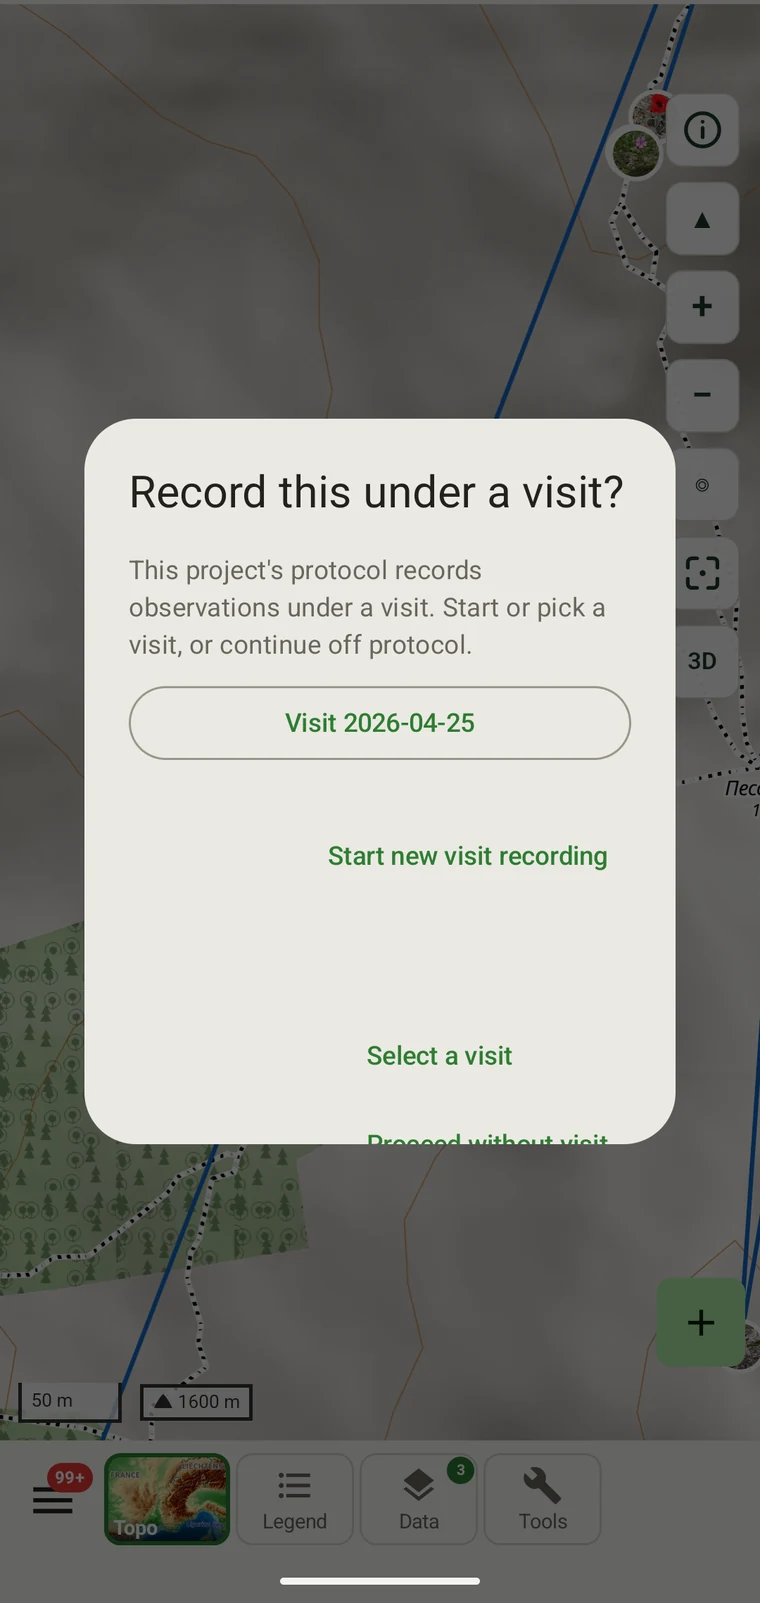
| Record grouping | How observations are grouped: into survey visits, or left ungrouped as incidental records. The grouping structure determines what the visit prompt shows when you start recording. |
The protocols included
Seven survey protocols ship with the app: Casual / incidental, Site visit, Timed area search and Walking transect under "Other", and Vegetation — Braun-Blanquet, Vegetation — % cover and Vegetation — Drude relevé under "Vegetation". The project created on first run uses Casual / incidental. A project you create later has no protocol until you assign one; until then new records use the casual protocol's core fields.
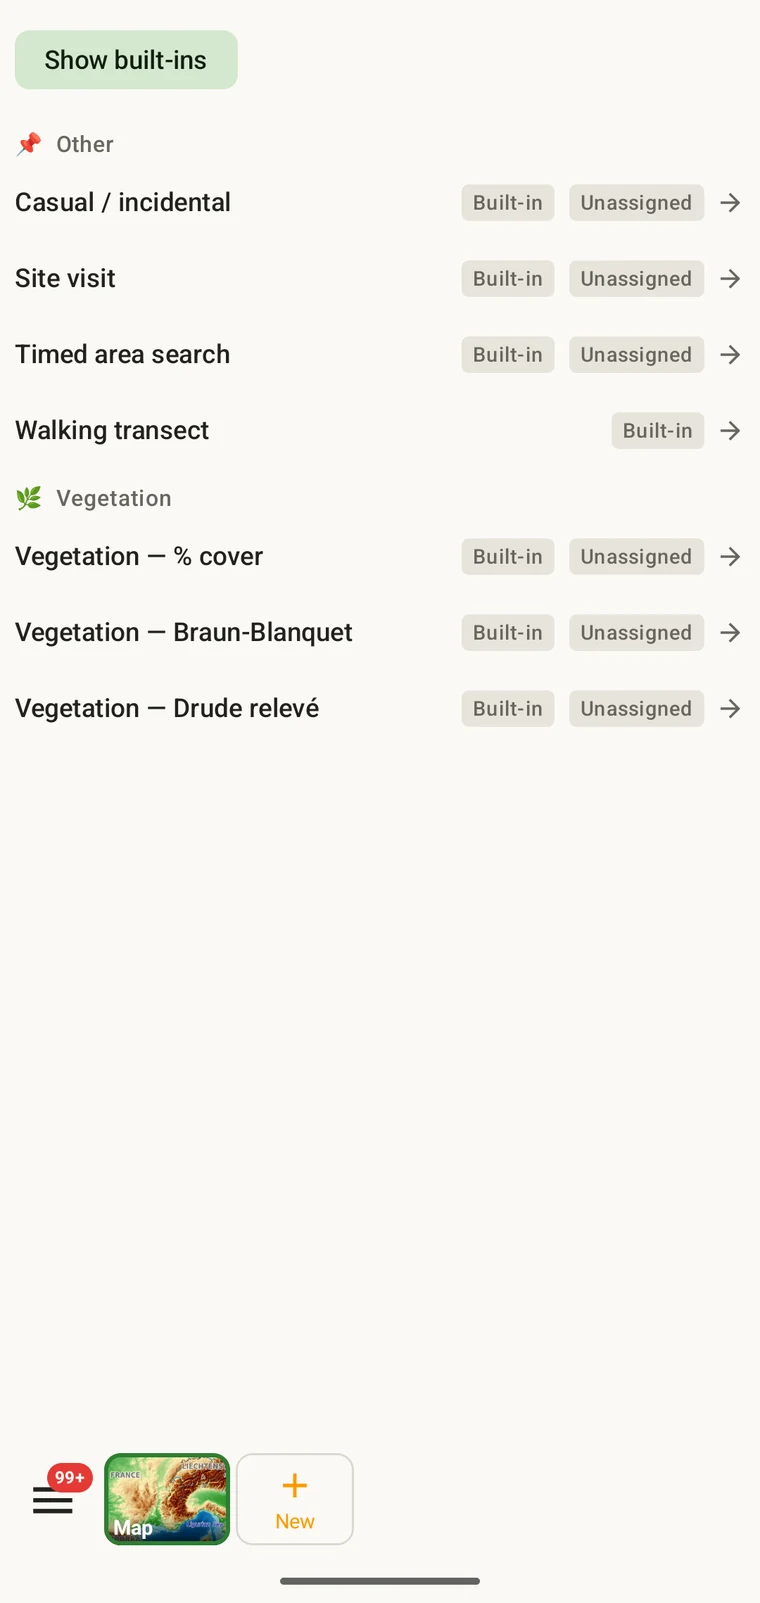
The list on the device is the best place to read each protocol: it shows the full description, the fields it includes and their settings. Open Menu → Protocols and tap a protocol to open it; the Information tab shows its description and settings, the Form builder and Custom fields tabs show its fields.
Choosing the protocol for a project
One project records under one protocol. Your first project starts with Casual / incidental; later projects start with no protocol and use core fields only. Assign the protocol when you know your method, before records are entered.
- Open Menu → Projects and tap the project.
- In the Survey protocol section tap Assign a protocol (or Change if one is assigned).
- Choose the protocol in the Choose a survey protocol list and tap Done. Assigning copies the protocol's full template — forms and custom fields — into the project.
- The observation form reflects the new protocol from the next record onward. Remove keeps your data and the core fields.
One protocol per project. A project is defined by a single protocol, because mixing two different field structures in one dataset makes analysis difficult. If your work genuinely requires two distinct methods, set up two projects and export them together.
Editing a protocol
The seven built-in protocols are read-only. To adapt one, open it in Menu → Protocols and tap Clone; the copy is a custom protocol you can rename and edit. The practical case is a method close to a standard one that adds two or three measurements: clone, rename, add the fields. That way you keep the structure you know and only change what is different about your method.
Editing a protocol does not alter records already entered. Those records retain the field values they were given at the time. Projects that already use the protocol keep their copy until you tap Push to assigned projects in the Protocols Studio; from then on new records in those projects use the updated definition. To change the layout for one project only, use Customize on the project form instead.
Naming your edited protocol. Give it a name that distinguishes it from the original so that anyone reading the exported data can identify which definition was in use. The protocol code travels with every export.
Writing your own
The Protocols Studio (Menu → Protocols) is where custom protocols are created — tap New protocol and choose From scratch or Clone existing. A protocol has a name, code, description, group, required fields, effort thresholds and vocabulary sets, plus its own forms and custom fields on the Form builder and Custom fields tabs. The field-level work — captions, data types and whether a field appears in list views — is covered in Forms and custom fields.
Keep protocols as simple as the method requires. A protocol with many required fields slows down recording in the field; a protocol with no required fields produces a dataset that may be incomplete in ways that are only discovered later.
Validation
Required fields are enforced when the record is entered, not discovered at export. Fields the protocol marks required are enforced when the record is saved: the form lists the missing ones and does not save until they are filled.
A missing value can be supplied while you are still at the site. Once the export is produced months later, it cannot. Validation costs a few seconds per record and prevents gaps that cannot be filled afterwards.
Fields that are not marked required can be left blank. They will appear in exports as empty cells rather than causing an error.
Changing a protocol mid-season
You can change the protocol assigned to a project during a season. Existing records keep the values they were entered with; they are not re-validated against the new protocol. Only new records, entered after the change, are governed by the new protocol's field set and required-field rules.
If the new protocol includes fields that the old one did not, existing records will have those fields blank in exports. If the new protocol omits fields that the old one had, those field values are retained in the database but will not appear in the form for new records.
Document the change. Note the date on which the protocol changed, either in the project description or in a separate field notes file. Analysis that pools records from before and after the change needs to account for the different field structures.
Sharing a protocol
Protocol and form configuration travel together in the project setup file. Open the project, tap Share, and send the .ecsurvey file to each device; importing it (Menu → Projects → Import) gives that device the same protocol, forms and custom fields. Every recorder on the study then sees an identical form and records under the same required-field rules. Exporting the project to Google Drive also publishes the setup, which other devices receive with Download from Drive + merge…. See Forms and custom fields and Google Drive collaboration.